

Most customers who commission a bespoke ring have never thought about what actually happens between the consultation and the moment they collect a finished piece. The process is longer than most people expect, involves more people than you might imagine, and passes through several distinct stages — each with a point where the customer is consulted before the work moves forward. Here is the full picture, from first sketch to Edinburgh hallmark.
Stage 1: Design
Every commission starts with a brief. Ours are written documents — a paragraph describing the wearer, a list of agreed specification points (metal, setting style, approximate stone size, finish), a hand-drawn sketch, and a budget range. The brief exists because memories are unreliable over a six-week timeline.
For simple designs — a round-brilliant solitaire in a standard four-claw setting, for example — Andrew works directly from the sketch. For more complex pieces, we use CAD (computer-aided design) software to produce a precise three-dimensional model. The CAD render is sent to you as an image for approval before anything physical is made.
Why CAD? CAD allows very precise control of proportions — the height of the setting above the finger, the exact width of the shoulders, the spacing of any accent stones — that would be difficult to communicate in a sketch alone. It also generates a wax model for complex pieces that you can physically hold and try on.
Stage 2: Diamond selection and sourcing
In parallel with the design, Stewart sources the centre stone. For most commissions, we work from our existing stock of certified loose diamonds. For specific requirements (an unusual fancy cut, a very large stone, a specific colour grade), we call on our network of trusted dealers in London and Antwerp.
Every stone we source is examined in person before it is offered to a customer. Certificate grades describe a stone's qualities in laboratory conditions; we assess how those qualities present in the setting and light conditions the finished ring will actually be worn in. We routinely reject SI1 stones with visible inclusions in the wrong position, and VS2 stones that look better than their grade suggests — the certificate is a guide, not a substitute for looking at the stone.
Stage 3: Fabrication
Once the design is approved and the stone is sourced, the metalwork begins.
Casting (for cast components): The wax model (if used) is encased in investment plaster, the wax is burned out in a furnace, and molten platinum or gold is centrifugally cast into the void. The result is a rough casting that is then cleaned, filed, and refined by hand.
Hand fabrication (for fabricated components): Sheet metal and wire of the correct gauge are cut, bent, and soldered at the bench. The shank is formed from a strip of platinum, annealed (softened with heat) and bent around a mandrel to the correct gauge. Setting galleries are soldered to the shank. Every solder joint is inspected under the loupe.
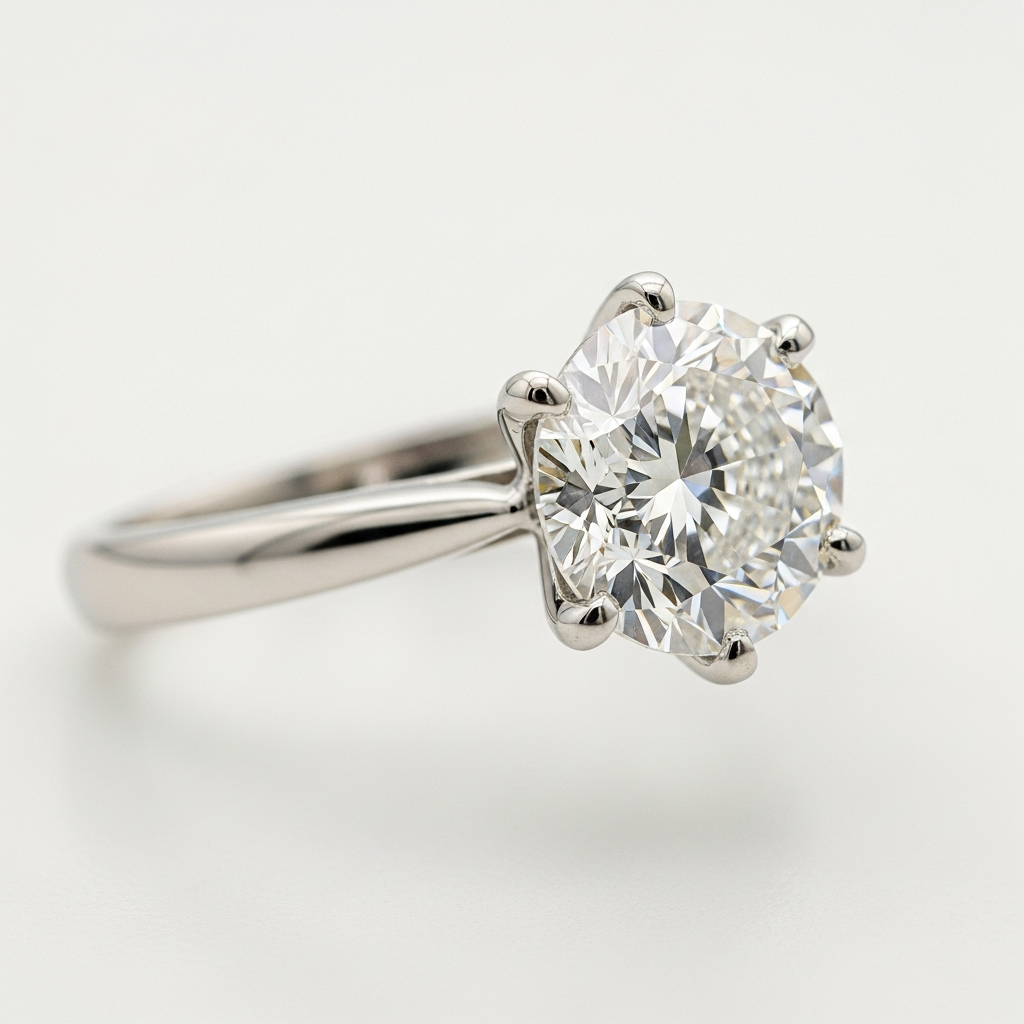
Filing and fitting: The rough casting or fabricated piece is filed with a sequence of needle files, reducing tool marks and bringing the piece toward its final form. This stage is slower and more skilled than it looks — shaping a claw by eye so that four or six prongs are perfectly symmetrical around a setting takes experience that cannot be rushed.
Stage 4: Stone setting
Setting the centre stone is the most skill-intensive single step. The stone is placed in the collet (the tube or basket that will hold it), the prongs or bezel are folded inward over the girdle with a setting pusher, and the pressure on the stone is tested by pressing the stone gently sideways. The setter then works around the setting multiple times, checking height and symmetry before burnishing the prong tips to a smooth, rounded finish.
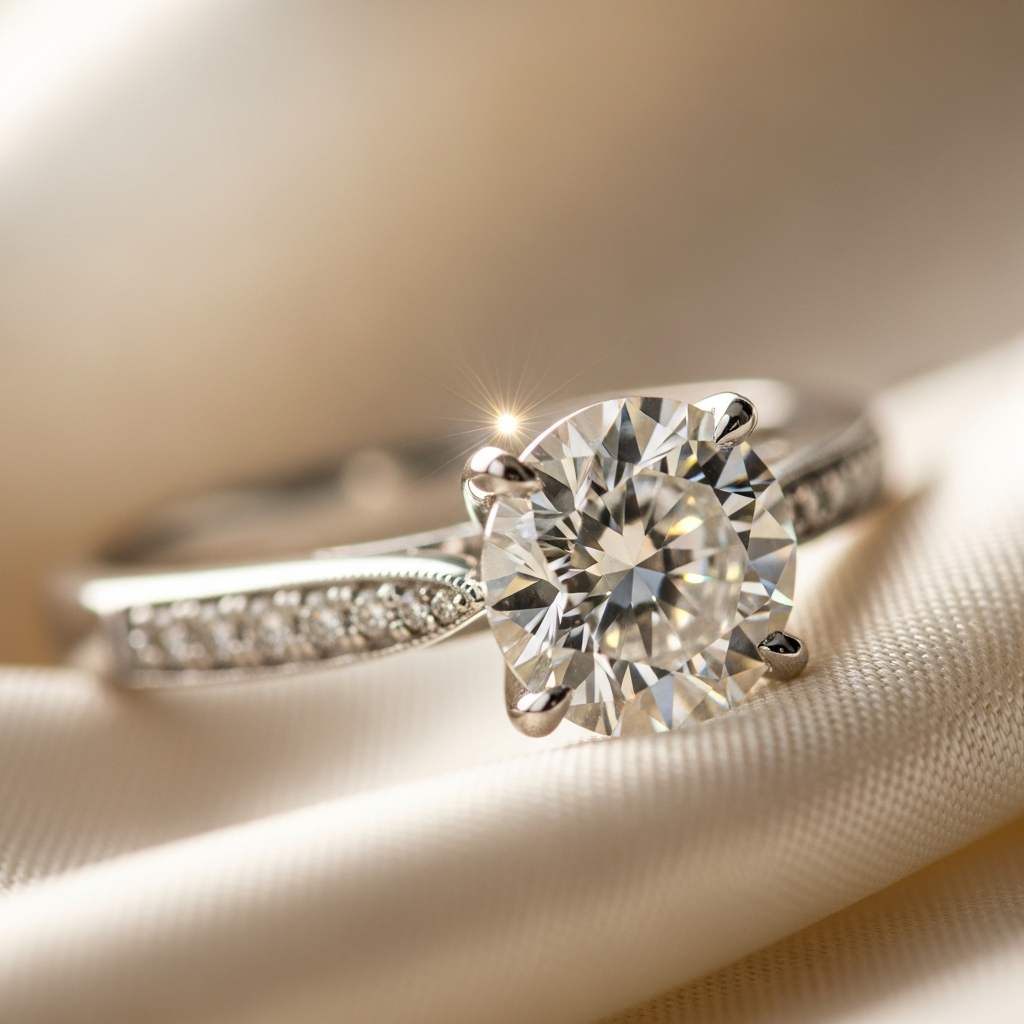
A stone that is not set squarely, or where one prong is under more tension than another, will look wrong under the loupe and may be more vulnerable to impact on the low-tension side. Setting takes approximately 2–3 hours for a four-claw solitaire; pavé settings (where dozens of small stones are set by raising tiny beads of metal) can take 8–10 hours.
Stage 5: Polishing
The set ring is mounted on a polishing motor and worked through a sequence of mops and compounds — from medium (removing file marks) to fine (pre-polish) to ultra-fine (final mirror finish). Polishing is done carefully around the prongs — over-polishing a prong tip rounds it off and reduces its grip on the stone.
For textured finishes (hammered, satin, brushed), the texture is applied after the final polish and protected during the rest of the process.
Stage 6: Hallmarking
The finished ring is submitted to the Edinburgh Assay Office — the closest Assay Office to our Stirling workshop. The Office assays a small drilling from the piece, confirms the metal content, and stamps the hallmark. For a UK platinum ring this means: the maker's mark (ours, registered with the Assay Office), the metal and fineness mark (950 in a pentagon), and the Assay Office mark (the Edinburgh castle). The date letter is optional for platinum.
Hallmarking takes 1–2 weeks from submission and is a legal requirement for precious metal jewellery sold in the UK above the weight thresholds.
Stage 7: Collection
The finished ring comes back from the Assay Office, is given a final ultrasonic clean and steam, and is inspected before being placed in a presentation box. We provide: the original diamond certificate (or certificates for multi-stone pieces), a certificate of valuation for insurance purposes, and a written care guide.
We strongly recommend taking the ring and the valuation to your home insurer immediately — or to a specialist jewellery insurer (T.H. March, Assetsure) — before the ring is worn. Replacement cost is highest in the first year; being uninsured during that window is an unnecessary risk.
Shop the look
Pieces from our Stirling boutique that pair beautifully with this article.
- Approximate bench hours for a hand-made platinum solitaire
- 8–14 hours
- Metal purity of platinum used in our workshop
- 950 (95% pure)
- Time from brief to finished ring (standard commission)
- 6–8 weeks
Source: Ian Gallacher Jewellers — 2025 workshop records
Source: Edinburgh Assay Office hallmarking standards
Source: Ian Gallacher Jewellers — 2025 workshop schedule
“When I sit down to make a ring from scratch, the first thing I do is re-read the customer's brief and look at their photograph. I want the finished piece to feel inevitable — like the only ring that could have been made for that person. That takes longer than following a template, but it's what bespoke actually means.”
Frequently asked questions
Sources & further reading
- [1] Edinburgh Assay Office — Hallmarking — Edinburgh Assay Office (accessed 2026-04-10)
- [2] Goldsmiths' Company — Goldsmithing Techniques — The Goldsmiths' Company (accessed 2026-04-10)
- [3] National Association of Jewellers — Craft Standards — National Association of Jewellers (accessed 2026-04-10)
People also ask
- How long does it take to hand-make an engagement ring?
- What does the Edinburgh Assay Office hallmark mean?
- Can a goldsmith copy a ring from a photograph?
- Is CAD jewellery the same quality as hand-made?
Related reading

Buying Advice
Bespoke vs Off-the-Shelf Engagement Rings: Which is Right for You?
Not every engagement ring needs to be bespoke — and not every ready-made ring is a compromise. A Stirling jeweller gives an honest comparison to help you decide.

Guides
Remodelling Heirloom Jewellery: A Practical Guide from Our Stirling Workshop
Inheriting jewellery that doesn't suit you? A Stirling goldsmith explains the realistic options — from resetting a stone into a new ring to melting down old gold for a new commission.

Guides
What Happens in a Bespoke Jewellery Consultation at Ian Gallacher
Nervous about your first bespoke jewellery consultation? Our Stirling goldsmith explains exactly what to expect — no jargon, no pressure, just the process from brief to sketch.